
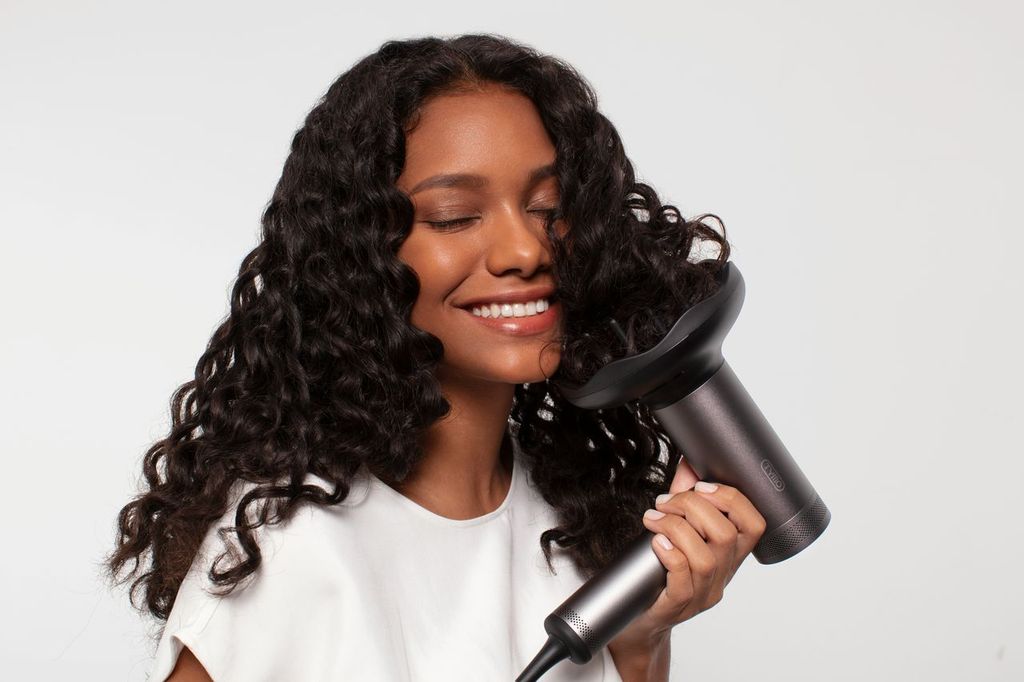
"The greater investment lies in what follows: the knowledge you take in and the routines you stick to."
Jump to a section
Introduction
When we think of investing in great hair, we often think of "buying" premium hair, but as straightforward as that sounds, that's not the whole picture.
The money you spend is only one part of the equation. The greater investment lies in what follows: the knowledge you take in and the routines you stick to. These are the things that determine whether your hair remains a statement piece or quietly fades into the background.
In our last article, we walked through the art of choosing hair extensions that fit your lifestyle: knowing what to look for, what to avoid, and how to make a purchase you won't regret. But acquisition is only the first step.
One thing that sets a BUNMI lady apart is this: we do not just invest in quality hair, we invest in quality knowledge.
Even the finest hair, meticulously sourced, can underperform when it's not cared for correctly. And more often than not, it's not due to carelessness. It is the reality of a full, demanding life that leaves little room for research, routine, or the kind of guidance that should have come with your purchase in the first place.
By the end of this article, you will have a clear, practical understanding of the core routines that protect your investment — washing, detangling, brushing, heat styling, bedtime, and storage — so that your hair continues to perform exactly the way it should, years after purchase.
Washing
How often is enough?
Because extensions are not rooted in your scalp, they receive none of the natural oils your own hair benefits from. This makes them inherently drier and far less forgiving of overwashing. Washing too frequently strips away whatever moisture remains and causes damage, while washing too infrequently allows product residue and scalp buildup to accumulate, leading to dullness and matting over time.
For ladies with oilier scalps or highly active lifestyles, washing your hair extensions once every two weeks is ideal. Ladies who have drier scalps or maintain a much more sedentary lifestyle can go much longer between washes — typically once a month, or whenever you notice product buildup beginning to affect the texture or appearance.
Before you step into the shower
Always brush your extensions thoroughly before washing — not after. Hair in its wet state is at its most fragile and most susceptible to breakage, so the goal is to arrive at the wash with hair that is already free of knots. The less manipulation required while your hair is wet, the better.
The wash itself
Use lukewarm water throughout, never hot. Direct the water downward as you rinse, following the hair's natural direction rather than against it. Apply your shampoo at the scalp, working it gently through the roots without scrubbing at the wefts. Allow it to travel down the length of the hair as you rinse rather than working it through aggressively.
Conditioner goes only on mid-lengths to ends, not at the root or near the weft areas. Moisture near this part weakens sew-ins. Leave the conditioner on for a few minutes before rinsing thoroughly; product left sitting in the hair is one of the most common causes of long-term buildup.
After washing, gently squeeze excess water from the hair with a soft towel. Never rub or twist. Follow immediately with a blow dryer on a medium heat setting, directing the airflow downward. Pay particular attention to the root areas, as they need to be completely dry. Leaving the roots damp after washing creates the conditions for mildew and weakens the attachment points that hold everything in place.
What to Use
- Sulfate-free shampoo — sulfates are harsh detergents that strip away moisture
- A lightweight, moisturizing conditioner applied from mid-lengths to ends
- A leave-in conditioner or detangling spray post-wash
- A microfibre towel for gentle drying
What to Avoid
- Sulfate-heavy or alcohol-based shampoos
- Hot water
- Washing hair upside down — this creates unnecessary tangling
- Going to bed before your hair is completely dry
Brushing
How often is enough?
Brush your extensions at least twice a day: once in the morning and once before bed. For days when your hair has been worn up or exposed to wind, a midday brush is worthwhile. The goal is to address small tangles before they have time to develop into larger ones.
The right technique
Before reaching for your brush, hold the hair firmly at the section above where you intend to brush. This one habit alone protects your attachment points from unnecessary tension and is one of the most important things you can do to extend the life of your extensions. Always begin at the ends and work upward in small sections. Never from root to tip. If you meet any resistance, stay gentle. Forcing a brush through a knot only makes the tension worse.
What to Use
- A wide-tooth comb for gentle initial detangling before brushing
- A detangling brush
- A leave-in conditioner
What to Avoid
- Fine-tooth combs
- Brushing from root to tip, particularly when tangles are present
- Brushing wet hair aggressively without a detangling product applied first
Detangling
Detangling is not the same as brushing, and treating them as interchangeable is where much of the avoidable damage happens. Brushing is maintenance. Detangling is an intervention that requires a slower, more deliberate process, and it uses different tools and techniques.
Start with your hands
Before any tool touches a knot, work through it with your fingers first. Fingers are your most sensitive instrument; they allow you to feel where a tangle begins and ends, and to loosen the outer layers gently before introducing a comb or brush. This step alone prevents a significant amount of unnecessary breakage.
Divide the hair into manageable sections. Work from the bottom upward, completing each section fully before moving to the next. Hold the hair above the section you are working on at all times. This distributes tension away from the roots. Rushing through a tangle causes shedding and breakage that compounds over time.
For stubborn knots, apply a detangling spray or leave-in conditioner directly to the area and allow it a moment to penetrate before you continue. The slip it provides makes an enormous difference. For anything approaching matting, a deeper conditioning treatment is applied and left on for several minutes before detangling; force is not the appropriate response.
What to Use
- Your fingers — always start here
- A detangling spray or leave-in conditioner to soften knots before working through them
- A wide-tooth comb or dedicated detangling brush as your follow-through tool
What to Avoid
- Pulling at knots without preparation — this is the fastest route to shedding and breakage
- Starting at the root when a tangle is present
- Fine-tooth combs
- Rushing the process
Storing
Women who invest in premium extensions and then store them carelessly are, in effect, shortening the life of their purchase from the moment they take them out. This section applies primarily to removable extensions, though the principles of keeping hair clean, dry, and tangle-free apply universally.
Before putting them away
Extensions should always be clean and fully dry before storage. Any residual moisture sealed into storage — even a small amount — creates the conditions for mildew and breaks down the hair's texture over time. Once dry, brush them through completely so they go into storage smooth, not matted. Storing tangled hair only allows the tangle to set.
The right way to store
An extension hanger is the most practical option for women who wear their extensions regularly. Hanging keeps the hair in its natural fall, prevents compression, and maintains the texture between uses. Another good option is a hair mannequin. For longer-term storage, a silk or satin bag is ideal. Its smooth fabric creates minimal friction against hair fibers, prevents static, and does not draw moisture out the way synthetic fabrics do. A breathable storage box lined with a soft fabric works as an alternative if hanging is not possible.
Store in a cool, dry location away from direct sunlight. UV exposure fades color and degrades the hair's structure gradually, so bathrooms — which combine humidity, heat, and occasional sunlight — are among the worst places to store extensions.
What to Use
- A dedicated extension hanger for regular wearers
- A silk or satin drawstring bag or pouch
- A breathable storage box if hanging is not an option
What to Avoid
- Plastic bags — they trap moisture and create frizz-inducing static
- Storing damp extensions under any circumstances
- Folding or compressing extensions under other items
- Bathroom storage due to too much humidity and heat
Heat Styling
A first step in understanding this is recognizing that your natural hair and extensions should not be treated the same way. Our scalp produces natural oils that travel down the hair shaft and offer a degree of built-in protection against heat and stress. Extensions receive none of this. They are working without a safety net, and because heat damage on extensions is permanent, the margin for error is smaller than most women realize.
This does not mean heat styling is off the table, but it requires a more deliberate approach.
Temperature
Your tool may go up to 230°C, but using the highest temperature isn't always the right choice. According to PubMed's research on human hair, irreversible structural damage begins above 140°C, and significant keratin degradation occurs at and beyond 200°C. While these studies referenced natural hair and not extensions, it's a rule of thumb to always use the lowest temperature that still achieves the result you want — not the highest your tool allows — because its oils cannot be replenished like those of your natural hair. Treat heat protectors as an essential part of your heat styling routine.
Before you style
Extensions must be completely dry before any heat is applied. Applying heat to even slightly damp hair causes moisture inside the shaft to essentially boil, producing damage that cannot be undone. Apply your heat protectant section by section before you begin.
What to Use
- A heat protectant applied to dry hair before every session
- Heat tools with adjustable temperature control
- A lightweight serum applied to ends only after styling
What to Avoid
- Heat on damp hair, under any circumstances
- Multiple passes over the same section at high heat
- Daily heat styling without moisture replenishment between sessions
The Bedtime Routine
Eight hours of movement and friction against a pillowcase, every single day, can be stressful for your hair. For women who skip any form of bedtime preparation, the cumulative effect over weeks becomes visible in texture and tangles. The good news is that a bedtime routine takes under five minutes with the right knowledge and helps extend the life of your extensions by months.
What to do before bed
Start by brushing your extensions thoroughly. Going to sleep on tangles only allows them to tighten and mat overnight, making the morning far more work than it needs to be. Once brushed, secure your hair in a loose, low braid or low ponytail using a soft, seamless fabric scrunchie. Tight styles or rubber elastics create pressure at the attachment points and cause breakage at the hairline over time.
If your hair often feels dry, apply a small amount of lightweight oil or leave-in conditioner to the mid-lengths and ends before bed, but never near the roots. This provides overnight moisture to the parts of your extensions most prone to drying out.
Never go to bed with damp hair. This is non-negotiable. Moisture left at the roots creates bacterial buildup on the scalp. If you wash your hair in the evenings, ensure the roots are thoroughly dried before lying down, even if it means a quick five minutes with the dryer on a low setting focused on the roots.
Consider a pillowcase change
If you do nothing else, do this: replace your cotton pillowcase with a silk or satin one. Cotton creates significantly more friction against the hair shaft than smooth fabrics, and that friction — repeated every single night — contributes to frizz, cuticle damage, and tangling over time. A silk pillowcase is a small, inexpensive investment that works quietly in the background every night without requiring any extra effort from you. For added protection, a silk bonnet or scarf worn over a loose braid offers the highest level of coverage, particularly useful for textured extensions or longer lengths where there is more surface area exposed during sleep.
What to Use
- A silk or satin pillowcase
- A soft, seamless scrunchie
- A silk bonnet or a satin scarf for additional coverage
- A lightweight oil or leave-in conditioner applied to ends only
What to Avoid
- Sleeping with hair completely loose
- Tight elastics or rubber bands at any point near the attachments
- Damp hair at bedtime
- Cotton pillowcases without a protective layer over them
Conclusion
Knowledge remains the best investment you can make after the purchase itself. Great hair care is not about doing more. It is about doing the right things, in the right order, with the right tools.
One last thing worth saying: not all extensions are the same, and not all care routines should be either. The right washing frequency, the right products, and the right handling approach for straight, silky extensions are not the same as what works best for a deep wave or a kinky curl. Texture matters, and the details matter.
This is why every BUNMI lady receives a personalized hair care guide tailored specifically to the texture they purchase. We believe that guidance should come with the hair, and not be left for you to piece together on your own.
Now's the time to treat your hair extensions like the quality investment that they are — and with this guide, you have everything you need to do exactly that.
Ready to Find Your Signature Style?
Browse the collection and let's help you find your signature style.
Browse Collection